Why DIY Homemade Lunchables?
- Customization: One of the main advantages of making your own lunchables is the freedom to choose what goes into them. Tailor your meal to fit your dietary preferences, ensuring a healthier and more enjoyable experience.
- Cost-Effective: Creating your lunchables can be more budget-friendly than purchasing pre-packaged options. Buying ingredients in bulk allows you to save money while also reducing single-use packaging waste.
- Freshness: Enjoy the satisfaction of using fresh and quality ingredients. This not only enhances the taste but also ensures that you are consuming wholesome, nutritious foods.
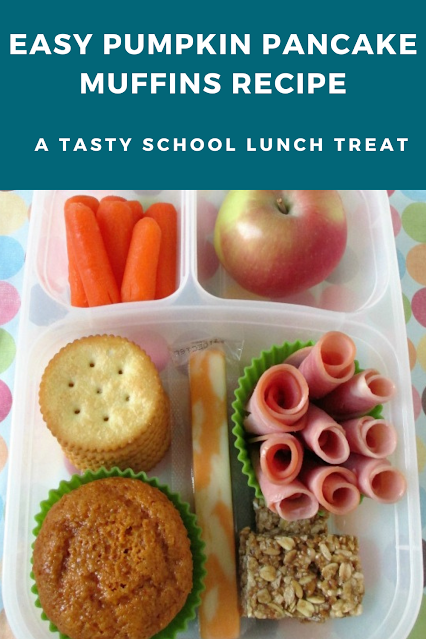
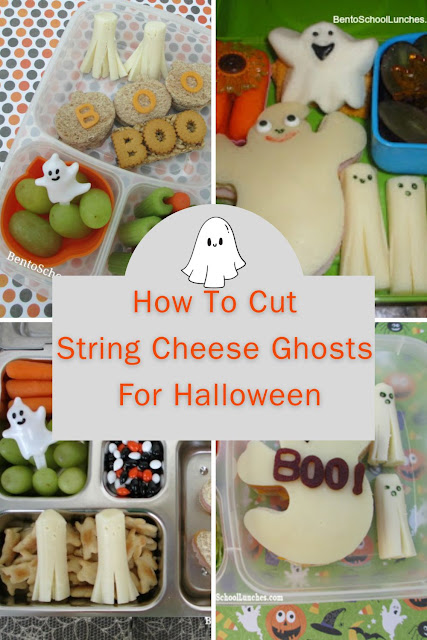
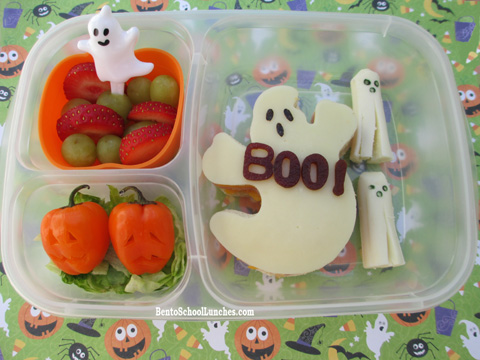
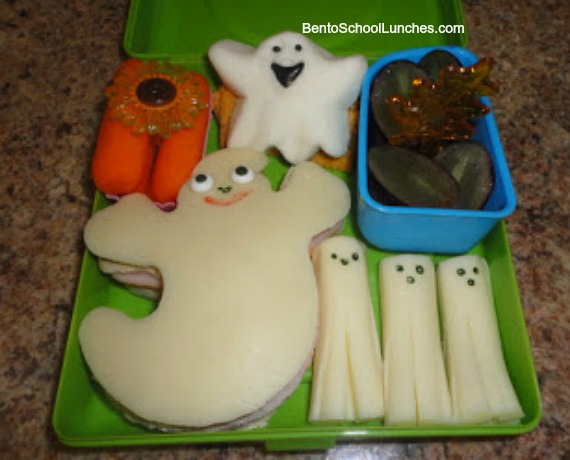
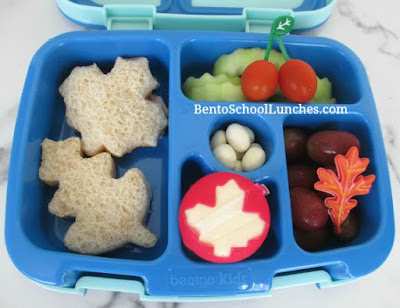
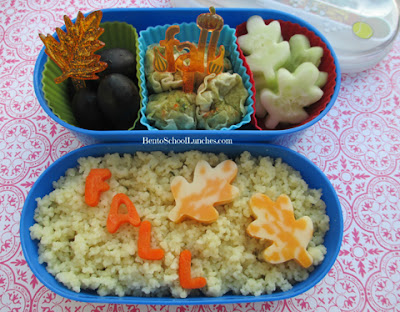
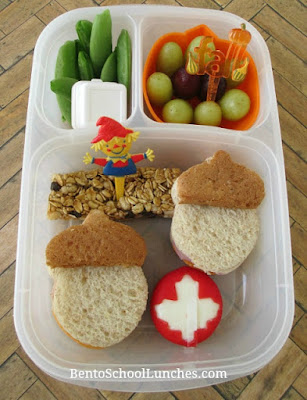
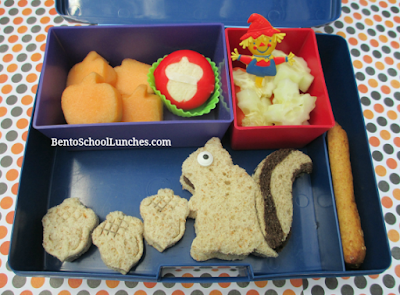
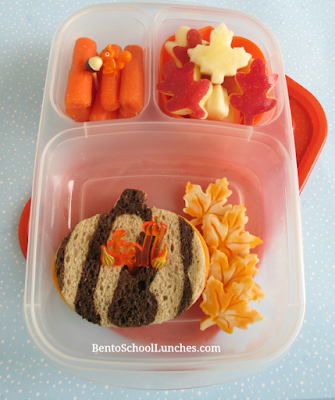
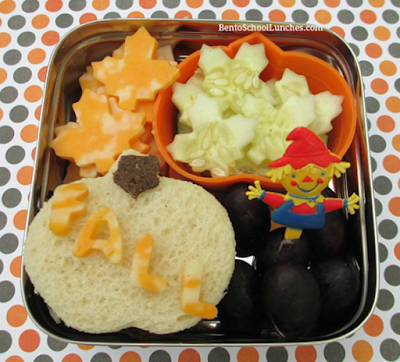
Cheese: Choose a variety of cheeses such as cheddar, mozzarella, or Swiss. Cube, slice them or cut into cute shapes for easy snacking.
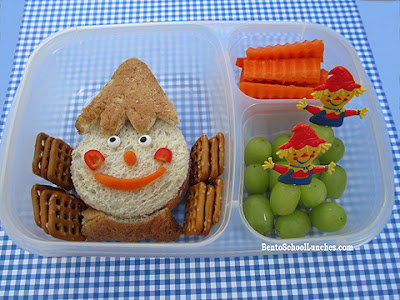
Crackers or Bread: Include a selection of crackers, breadsticks, or even mini pitas.
Fresh Vegetables: Add color and crunch with fresh vegetables like cherry tomatoes, cucumber slices, or baby carrots.
Dips and Spreads: Elevate your lunchable by including hummus, guacamole, or your favorite dip. Small containers or compartments work well for keeping them separate.
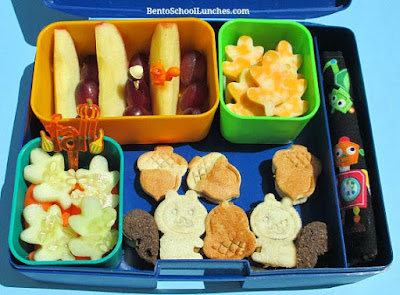
Fruits: Incorporate sweetness with fruit slices or berries. Grapes, apple slices, or melon cubes are some choices.
Assembly Tips:
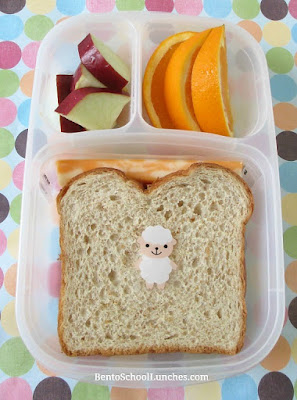
Bento Boxes: Invest in a bento box or compartmentalized container to keep each component separate and visually appealing. Some of our favorite lunchboxes are: Easylunchboxes, Planetbox, Bentgo Kids and more.
Portion Control: Be mindful of portion sizes to create a balanced and satisfying meal.
Variety is Key: Rotate your choices to prevent lunchtime boredom. Experiment with different combinations to discover your favorite mix.
Temperature Considerations: If you're packing lunchables for school lunch or work, consider using an insulated lunch bag or adding an ice pack to keep items fresh.


